How to Build a Truss Roof Step by Step: A Comprehensive Guide
In the case of Roof Truss Construction, a series of orderly stages are vital not only to its longevity but also to the performance of its design. Manufacturing a residential building or a steel frame edifice, truss roof installation is one of the main phases of the whole structure. This is a practical step by step guideline on how to make a truss roof the proper way–structurally sound, economical and code-compliant.
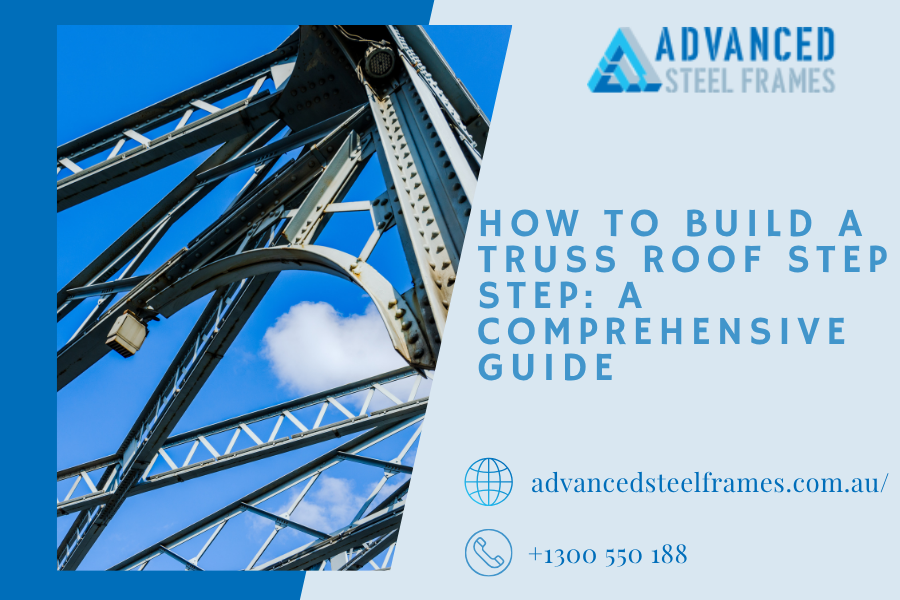
What Is a Roof Truss and Why It Matters in Modern Construction
Step 1: Understand the Design and Load Requirements
Decide what the architectural design is, how wide the span will be, the pitch of the roof and what it will hold out before picking up a hammer. These factors determine the type of truss such as the king post, queen post, and fink trusses. For steel frame homes Adelaide homeowners are increasingly adopting, metal trusses offer superior strength and resistance to termites, making them ideal for long-term performance.
Step 2: Choose Materials Wisely
Trusses may be timber or steel constructions. Even though timber has long been used in floor truss construction and roofing systems, steel is gaining popularity due to its lightweight, high strength, and also non-corrosive nature. In modern construction, particularly areas such as Adelaide the use of steel trusses is common due to their low maintenance requirements as well as the ability to work well with a steel frame.
Step 3: Fabrication and Pre-Assembly
Trusses are typically pre-assembled in an off-site facility through high accuracy and achieve reduced construction costs on the job site. This is where businesses such as Advanced Steel Frames step in by providing pre-engineered steel truss that meets Australian standards. Pre-assembly also assists in ensuring all trusses are alike, so that they can be fitted more rapidly and safely on-site.
Step 4: Prepare the Top Plate and Layout
When the truss is ready, you will need to transfer them to the top plate of the wall frame. They need to be spaced and measured equally, usually 600mm, 900mm, depending on specification. Safe bracing or temporary measures to maintain everything aligned in installation.
Step 5: Install the First Truss
Begin by the gable or end truss. Load the truss into place with the aid of a crane or other lifting device and temporarily support it. Make it vertical (plumb), by the help of a level. The initial truss serves as a guide to the rest so should be positioned appropriately.
Step 6: Install Remaining Trusses
Keep laying every truss according to the marked plan. When you go, keep spaced at strong backs, and use diagonal bracing to hold the structure in line. Cut nail or screw trusses to top plate and tie trusses together with top chords and bottom chords using galvanized metal connectors or gussets to provide additional strength.
Step 7: Install Permanent Bracing
After erection of all the trusses, do the permanent bracing according to the engineering plan. This typically encompasses lateral bracing, diagonal bracing and web bracing. Correct bracing prevents excessive lateral movement and resist any wind uplift-particularly in the areas exposed to an open ground or areas prone to cyclones.
Step 8: Apply Roof Sheathing and Coverings
When the structure has been stabilized, attach roof sheathing (such as plywood or OSB panels) to the trusses. Install with underlayment, and, finally, whatever your last roofing choice, metal, tile or shingles.
Conclusion
Building a truss roof is an art that requires sequential steps that combine structural knowledge, material knowledge and tailored installation. Properly following each stage can save a lot of time, waste, and lead to a safer roof and a long lasting roof. When unsure, always speak to licensed engineers, or other building professionals, and ensure high quality prefab supplied parts allow your project to stand the test of time.
Share this content: